


Nighttime photography is an intriguing genre that showcases the splendor of the night sky, urban lights, and lit landscapes. It demands specific techniques and gear to tackle the difficulties presented by low-light conditions. Capturing images at night requires a grasp of low-light principles, the use of suitable equipment, a command of camera settings, an exploration of creative approaches, and the application of post-processing to achieve impressive outcomes. Practicing and trying new techniques are essential for mastering this fulfilling area of photography.
Understanding Low-Light Photography
The art of nighttime photography hinges on a deep understanding of the exposure triangle: ISO, Aperture, and Shutter Speed. These three vital components orchestrate the way light interacts with your camera’s sensor, ultimately shaping the quality of your images. ISO reflects your camera’s sensitivity to light. A low ISO setting results in strikingly clear images with minimal noise (or grain), but it requires ample light to achieve optimal exposure. In contrast, a higher ISO range boosts your camera’s light sensitivity, permitting quicker shutter speeds in dimly lit environments. However, this increased sensitivity often comes at the cost of added noise, which can detract from image quality.
When you’re taking photos at night, it’s crucial to set your camera to the right ISO level. ISO determines how well your camera sees in low light. You want to pick a setting that helps you capture clear details without making the picture look grainy or fuzzy. Getting this balance right can enhance your nighttime photos, allowing you to take beautiful and clear images even in dimly lit conditions.
Another key aspect of photography is the aperture, which is like the opening of a camera lens that lets light in. When the number that describes the aperture (called the f-stop) is small, like f/1.4, it means the opening is large, allowing more light to come in. This can create a nice blurry background, focusing attention on the subject. On the other hand, a larger number, such as f/11, indicates a smaller opening, letting in less light but keeping more of the scene in focus. Understanding these settings can enhance your photography skills!
History and Evolution
Nighttime photography has progressed greatly over the years. This technique was first investigated between the 1930s and the 1950s. Over time, there has been a significant evolution that improved it, alongside advancements in methods and materials.
The development of faster film stocks and lenses in the early to mid-20th century significantly reduced the required exposure times. This allowed for sharper images and the capture of movement, although long exposures remained a common technique for capturing light trails and star trails.
The invention and widespread adoption of electronic flash further revolutionized nighttime photography. Flash provided a powerful, controllable light source, enabling photographers to freeze motion and illuminate subjects in low-light conditions without relying on long exposures.
The digital revolution brought about a dramatic shift in nighttime photography. Digital cameras offered greater sensitivity (higher ISO settings), allowing for shorter exposures and less noise in low-light images. Advanced image processing techniques further enhanced the ability to capture detail and reduce noise in nighttime photographs.
Nighttime photography’s evolution reflects advancements in camera technology, lighting, and image processing. From long exposures to high-ISO digital cameras and advanced software, the possibilities for capturing stunning nighttime images have expanded dramatically.
Equipment and Gear:
There are different kinds of camera lenses to consider when selecting the right photography equipment.
A great option for a low-light lens would be the Nikkor 14–24 mm f/2.8G.
A sturdy tripod is crucial for long-exposure shots. Seek out a reliable tripod that can support your camera and lens setup.
A tripod equipped with a hook for weights can further improve stability. Using a Remote Shutter Release helps reduce camera movement caused by touching the shutter button. Additionally, many cameras feature a built-in self-timer that performs a similar function.
Recognizing Noise Reduction Higher ISO settings naturally increase noise. Numerous cameras come equipped with integrated noise-reduction capabilities. Test different settings to determine the best compromise between ISO levels and noise. Additionally, noise reduction can be performed during post-processing using software like Adobe Lightroom or Photoshop.
Basic Techniques and Tips:
- An imaginative concept could involve light painting; to achieve this, you can utilize a flashlight or another light source to “paint” with illumination in your photographs, resulting in unique visual effects.
- Star trails are created with extremely long exposures, lasting from minutes to hours, to record the motion of stars in the night sky. This process necessitates a highly stable tripod and may also involve specialized software for combining images.
- Astrophotography necessitates the use of specialized lenses and possibly tracking mounts to offset the rotation of the Earth. This represents a more advanced field within nighttime photography.
- Urban landscapes showcase the lively illumination and structures of cities after dark. Try various angles and viewpoints to discover distinct compositions.
- Long exposure techniques explore the use of deliberate motion blur to achieve artistic effects with flowing water, traffic lights, or moving individuals.
Nighttime Photography Styles
Taking photos at night gives you a chance to showcase the beauty of the world when the sun goes down. There are various methods you can use to take amazing nighttime pictures. By learning these methods, you can create eye-catching images that highlight the enchanting feel of the night.
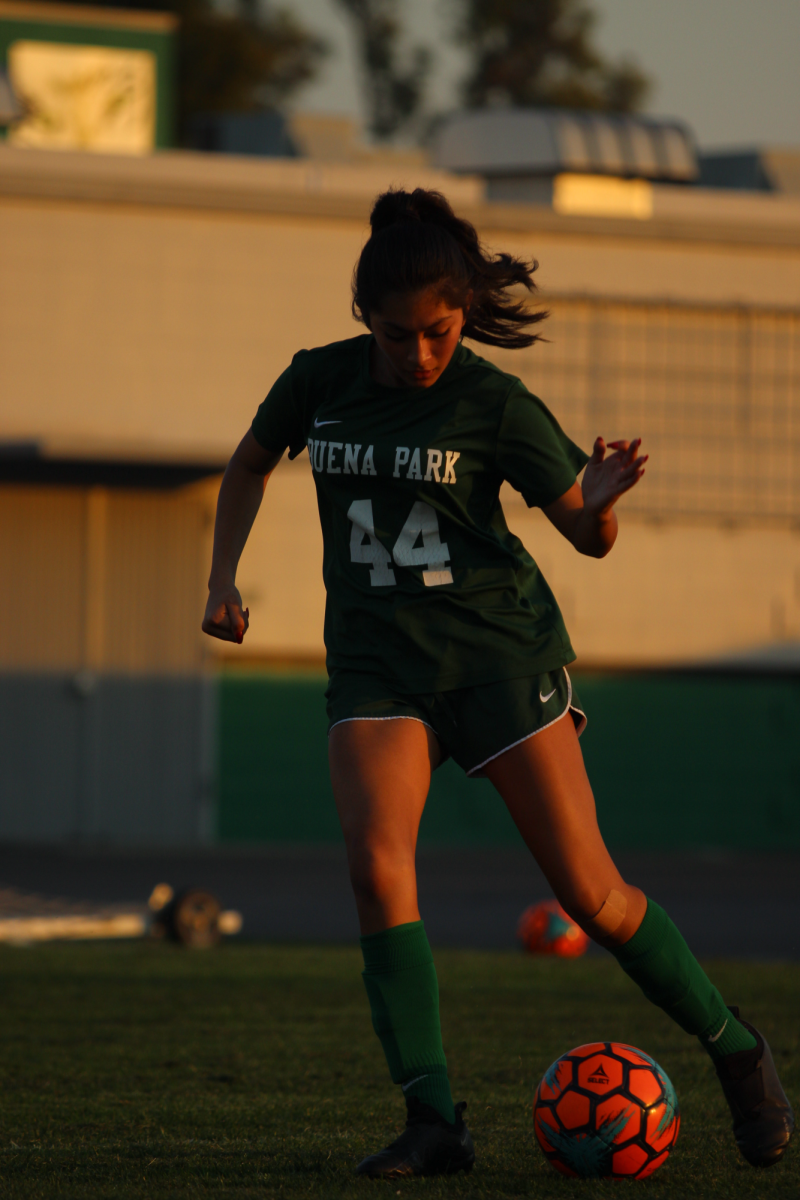
Silhouettes are a classic and appealing style in nighttime photography. To create a memorable silhouette, position your subject in front of a bright background, like a city skyline or a moonlit landscape. The key to making the subject stand out is to make it a bit darker in the photo, which will emphasize its shape against the lighter background.
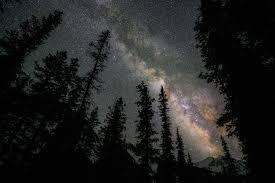
Certain techniques are essential to photograph a star-filled night sky. Utilizing a wide-angle lens is advantageous for covering more of the sky in your shot. Extended exposure times, paired with the use of a tripod, are crucial for allowing sufficient light to hit the sensor and adequately capture the stars. Think about employing a remote shutter release to reduce any potential camera shake. Optimal results come from shooting in dark areas, away from urban light pollution.
Urban night photography emphasizes capturing the lively essence of city landscapes after dark. This typically includes photographing the interaction of light and shadow, intricate architectural features, and the dynamic ambiance of urban life. Try experimenting with various angles and viewpoints to reveal the distinct personality of the nighttime cityscape.
Identifying a High-Quality Nighttime Photography
When taking nighttime photos, the most important thing is to make sure the image is clear and sharp. Even in the dark, you want your subject to stand out and have visible details, rather than looking blurry or soft. This shows that good techniques were used to keep everything in focus, and using a tripod can help keep the camera steady for better results.
Secondly, exposure is crucial. A well-exposed nighttime image avoids excessive darkness or overblown highlights. The scene should be adequately illuminated, revealing details in both shadows and brighter areas without losing important information to extreme contrast. This often involves careful adjustment of ISO, aperture, and shutter speed.
Thirdly, the image should exhibit minimal noise or grain. Noise appears as speckles or discoloration, especially noticeable in dark areas. While some grain can be stylistic, excessive noise detracts from the image quality and indicates potential camera sensor issues or post-processing issues. A clean image is a sign of good technique.
Finally, consider the overall composition and aesthetic appeal. Even in low light, a strong composition guides the viewer’s eye and creates a visually engaging image. This includes elements like leading lines, the rule of thirds, and a compelling subject. While not directly related to technical quality, a good composition elevates the overall impact of the photograph.
Advancements in Technology:
The future of nighttime photography is shaping up to be thrilling, thanks to some cool tech advancements. Here’s how I see it evolving:
Better Low-Light Performance: With AI making its way into photography, cameras are set to excel in low-light conditions. This means we can look forward to sharper, more detailed shots of night scenes, whether it’s the dazzling lights of a city or a peaceful, star-filled sky.
Simplified Editing: Editing software is getting more user-friendly. Just think about tools that can automatically reduce noise and tweak exposure for you. This will make nighttime photography way easier, especially for those who find complex editing intimidating. A few quick changes could turn a dull photo into something amazing.
Advanced HDR Techniques: The process of creating high dynamic range (HDR) images will also improve. Cameras will be able to blend different exposures more efficiently, capturing a full spectrum of light and shadow in one shot. This will lead to stunning depictions of nighttime scenes, highlighting sparkling lights alongside darker areas.
More Creative Options: As technology advances, photographers will have a ton of creative tools at their disposal. Imagine being able to replicate long-exposure effects instantly or adjust light trails in real time. This could broaden artistic possibilities, allowing for fresh takes on night photography.
Real-Time Feedback and Advice: AI might soon offer live suggestions while you’re shooting. Picture being out at night, and your camera gives you tips on settings or framing ideas. This kind of help could empower photographers to make smart decisions on the spot, resulting in better photos without the pressure of guesswork.
Artistic and Creative Expressions:
Showcase innovative and artistic uses of nighttime photography, like creating abstract art, capturing surreal landscapes, or telling stories through aerial photography.
Excelling in nighttime photography involves both technical proficiency and a great deal of patience. Grasping the concepts of ISO, aperture, and shutter speed is essential for achieving sharp, well-lit images in dim conditions. Yet, the technical hurdles are offset by the artistic benefits. The interplay of light from street lamps, neon signs, and moonlight weaves a striking visual landscape that is both dramatic and otherworldly. The tranquility of the night permits the capture of details that are often missed during daylight, highlighting the textures and shapes of the urban or natural surroundings.
Night photography goes beyond mere technical skills; it is an individual exploration of artistic expression. Each image serves as a representation of the photographer’s perspective, their interpretation of the night’s ambiance, and their skill in transforming that perspective into a striking photograph. Whether seizing the lively spirit of a city after dark or the peaceful calm of a starry night, the photographer’s artistic decisions influence the result, resulting in every photo being distinct and significant. This process inspires experimentation and personal growth, challenging creative limits and nurturing a greater appreciation for the allure of darkness.